Most websites today have features that allow you to post and edit content yourself — meaning you can log in to the “backend” of your website, and there’s no need to contact your website developer just to add or change content.
This backend area where you log in and make changes is called a CMS, or content management system.
There are tons of these systems available, and your website may use a third-party system (such as WordPress), or one custom-made by your website developer.
The Problem
No matter what type of CMS you have, when you log in, you will probably encounter something that looks a little like this:
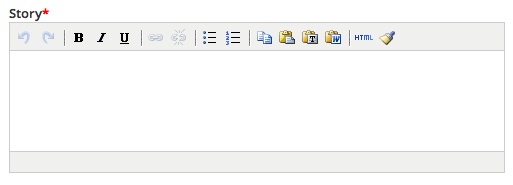
Or this:
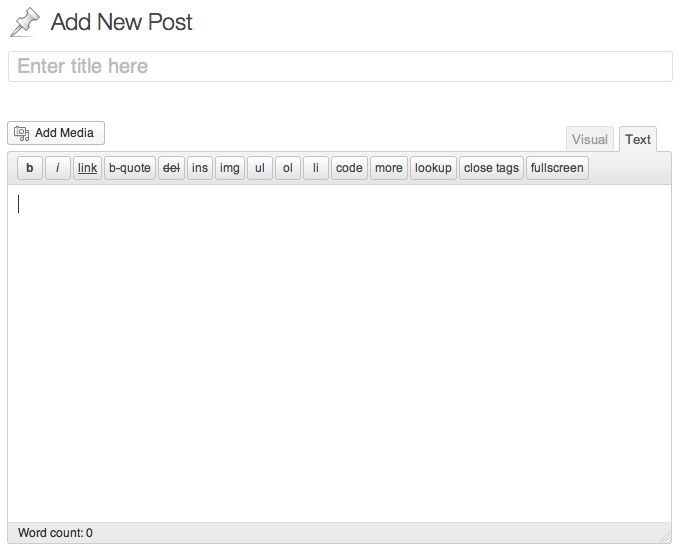
You may have gotten some instructions or a tutorial on how to use your CMS. It sounded so easy then…just paste and post! But now you find yourself staring at this white box, and the details have gone a little fuzzy.
Or, possibly worse, you’re putting in content, but when you look at it on your website, it looks terrible! The fonts change and resize like you’re writing a ransom note. Spaces are everywhere. It’s a mess.
The Solution
The good news is, with a few tricks up your sleeve, you’ll be able to edit your own website content and keep it looking as fresh and clean as it did on day one.
1. Paste with Caution
Many website editors like to type up their content in Word before posting it to their website. No problems there, until you try to copy and paste that content into the text editing box.
Word does all kinds of hidden formatting that gets carried along when you bring it to your website. This will override your website’s formatting, and the result is not pretty.
To avoid this situation, paste your text into the “code view” of your text editing box. This is often accessed by clicking a button marked “HTML,” or by switching to the “Text” tab in WordPress. Or, some text editing boxes will even have a “paste from Word” button that will strip the extraneous formatting.
2. Use Line Breaks
When typing in a text editing box, hitting enter to drop to the next line may result in too much space between paragraphs. As an alternative, you can use line breaks. Hold down shift when pressing enter. The result is the text goes down to the next line, but there is not a large space between the lines.
3. Use Bold, Underline and Italic Sparingly
If you emphasize everything, you emphasize nothing. That said, use the bold, italic and underline options sparingly. Avoid using underlining as a tool for emphasis if possible. It has long been associated with links, so you can confuse your users by underlining words.
4. Be Consistent
You can drastically improve the look of your website content by simply being consistent with your formatting. For example, if you list a phone number with dashes between numbers, use dashes between numbers every time. If you put photo captions in italics, do it every time. You get the idea.
5. Don’t Use All Caps
As a general rule, text in all capital letters is much harder to read. Don’t put the added strain on your website users.
6. Bullets are your Friends
Long blocks of text aren’t appealing to anyone. Break them up with bulleted lists when possible.
7. Spans are the Devil
Go to one of your posts that has crazy-looking formatting, and click the “code view” button. There’s a good chance you’ll see <span> and </spans> everywhere.
Spans are by far the most aggravating element of formatting. They are an HTML tag used to override the default formatting of your website. Sometimes they are used on purpose, but more often they completely throw off the design of your website. They will most likely need to be removed to restore correct formatting. You can do this by either re-pasting your content (see #1), or by manually taking them out.
Spans always come in a set — they start with an opening <span> tag and end with a closing </span> tag, with your text in between the two. To take them out by hand, first identify the opening <span> . It might look something like <span style=”text-decoration: underline”>. Delete everything between (and including) the two < > symbols. Now delete the corresponding closing tag. Do this for every set of <span></span> tags in the text.
HTML Cheat Sheet
While the purpose of a CMS is to allow you to edit your own website content without knowing any code, having a very basic knowledge of HTML can greatly help if you’re having trouble formatting text. Below are common HTML tags used in formatting:
Bold
The tag <strong> is placed at the beginning of the word or phrase you want bold, and the tag </strong> is placed where you want the bold to end.
Italic
The tag <em> is placed at the beginning of the word or phrase you want italic, and the tag </em> is placed where you want the italic to end.
New Paragraph
The tag <p> is placed at the beginning of the paragraph, and the tag </p> is placed at the end of the paragraph. The default formatting of your website determines how much space is between paragraphs.
Line Breaks
The tag <br /> is placed anywhere you want text to drop to the next line. Line breaks do not have a closing tag.
Spans
Span tags are used to group text so special formatting can be applied. The tag <span> is placed at the beginning of the word or phrase you want to format, and the tag </span> is placed where you want the special formatting to end.
Bulleted and Numbered Lists
The tag <ul> is placed at the beginning of the text you want to bullet, and the tag <ul> is placed at the end of the text you want in the list. Then, the tag <li> is placed at the beginning of one item in the list, and the </li> tag is placed at the end of that item. Continue using <li> and </li> for each item in the list. To replace the bullets with numbers, substitute <ul> with <ol> and </ul> with </ol>.
Links
The tag <a> is placed at the beginning of text that will be a link, and the tag </a> is placed at the end of the link text. Additional code is added to designate where the link will go. It looks like this: <a href=”https://landslidecreative.com”>Text you want to appear</a>.
